The Ultimate Infant or Toddler Bib
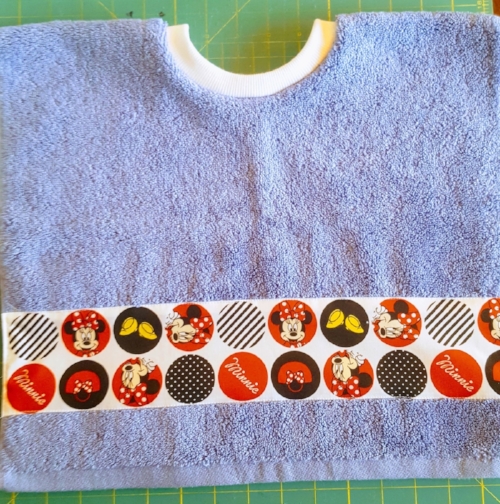
/Fast and easy to make bibs will help keep toddlers clean while they are learning to feed themselves. The bibs cover the entire front of the toddler and can be used to clean-up the area when they finish eating.
Make the bibs using dish towels or hand towels (approximately 16” x 27”). Hint: check out the clearance sections of stores for inexpensive towels. The two bibs displayed are made from dish towels I found on clearance at JoAnn Fabrics. T.J. Maxx and HomeGoods are also great resources.
The bib can be sized down for an infant by using fingertip towels instead of the dish or hand towels.
Ready to sew!
Supplies: 1 towel, 2” of rib knit fabric (sold by the yard), marking pen, and basic sewing supplies.
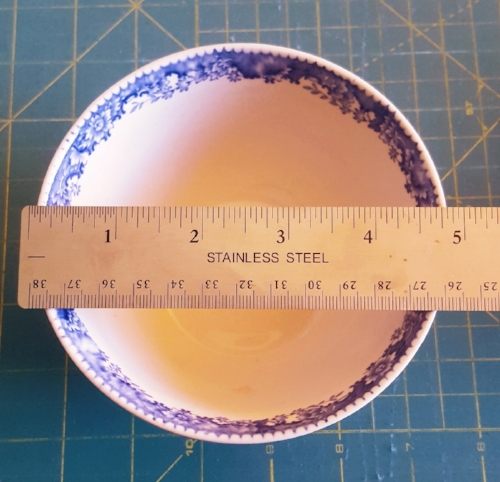
Find a bowl or cup with a 5” (4” for infant) opening. This will be used to mark the neck opening on the towel.
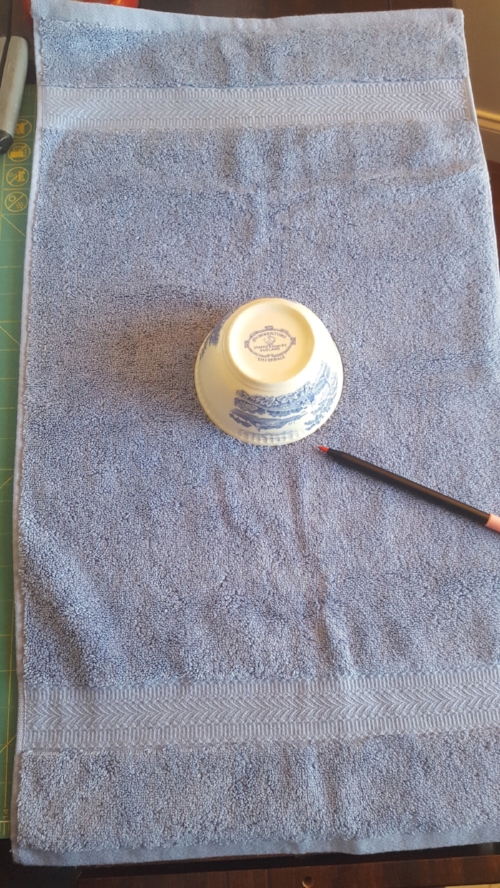
Place the bowl on the towel’s center. Using a marking pen, draw around the outside of the bowl.
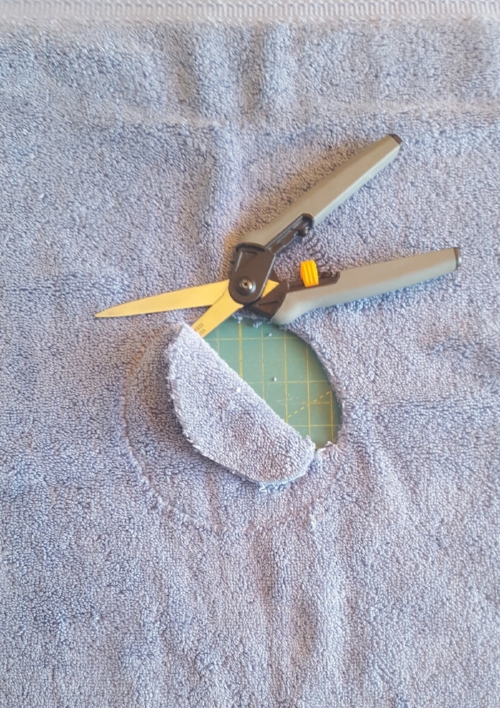
Cut out the neckline opening.
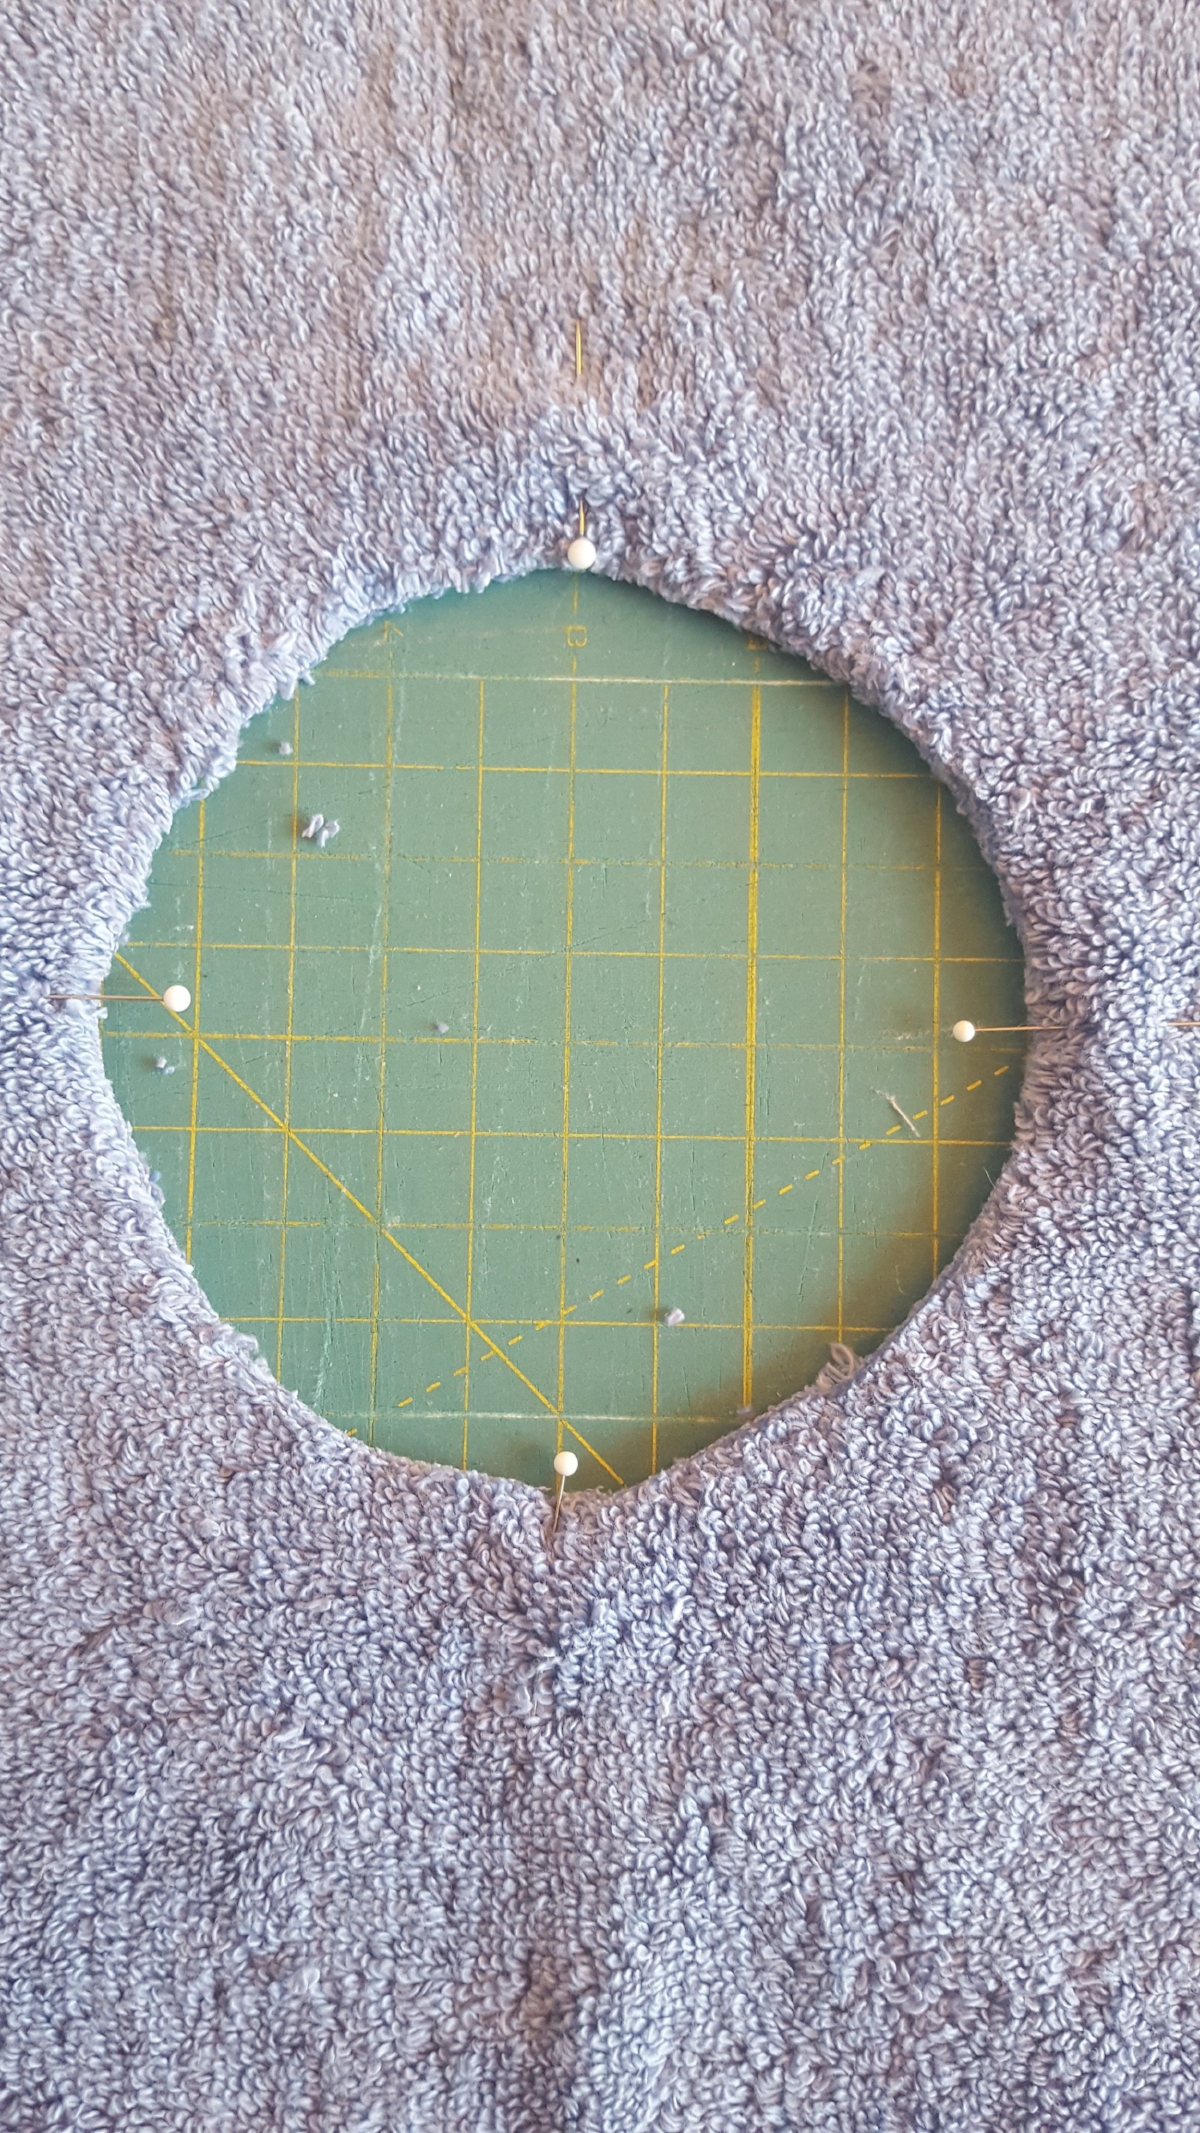
Divide and mark the neckline opening into fourths.
Cut the rib knit fabric for the neckline, 2” x 13 ½” (2” x 11 ½” for infant). Stitch the short ends of the rib knit together with a ¼” seam allowance. Finger-press the seam open.
Divide and mark the rib knit into fourths.
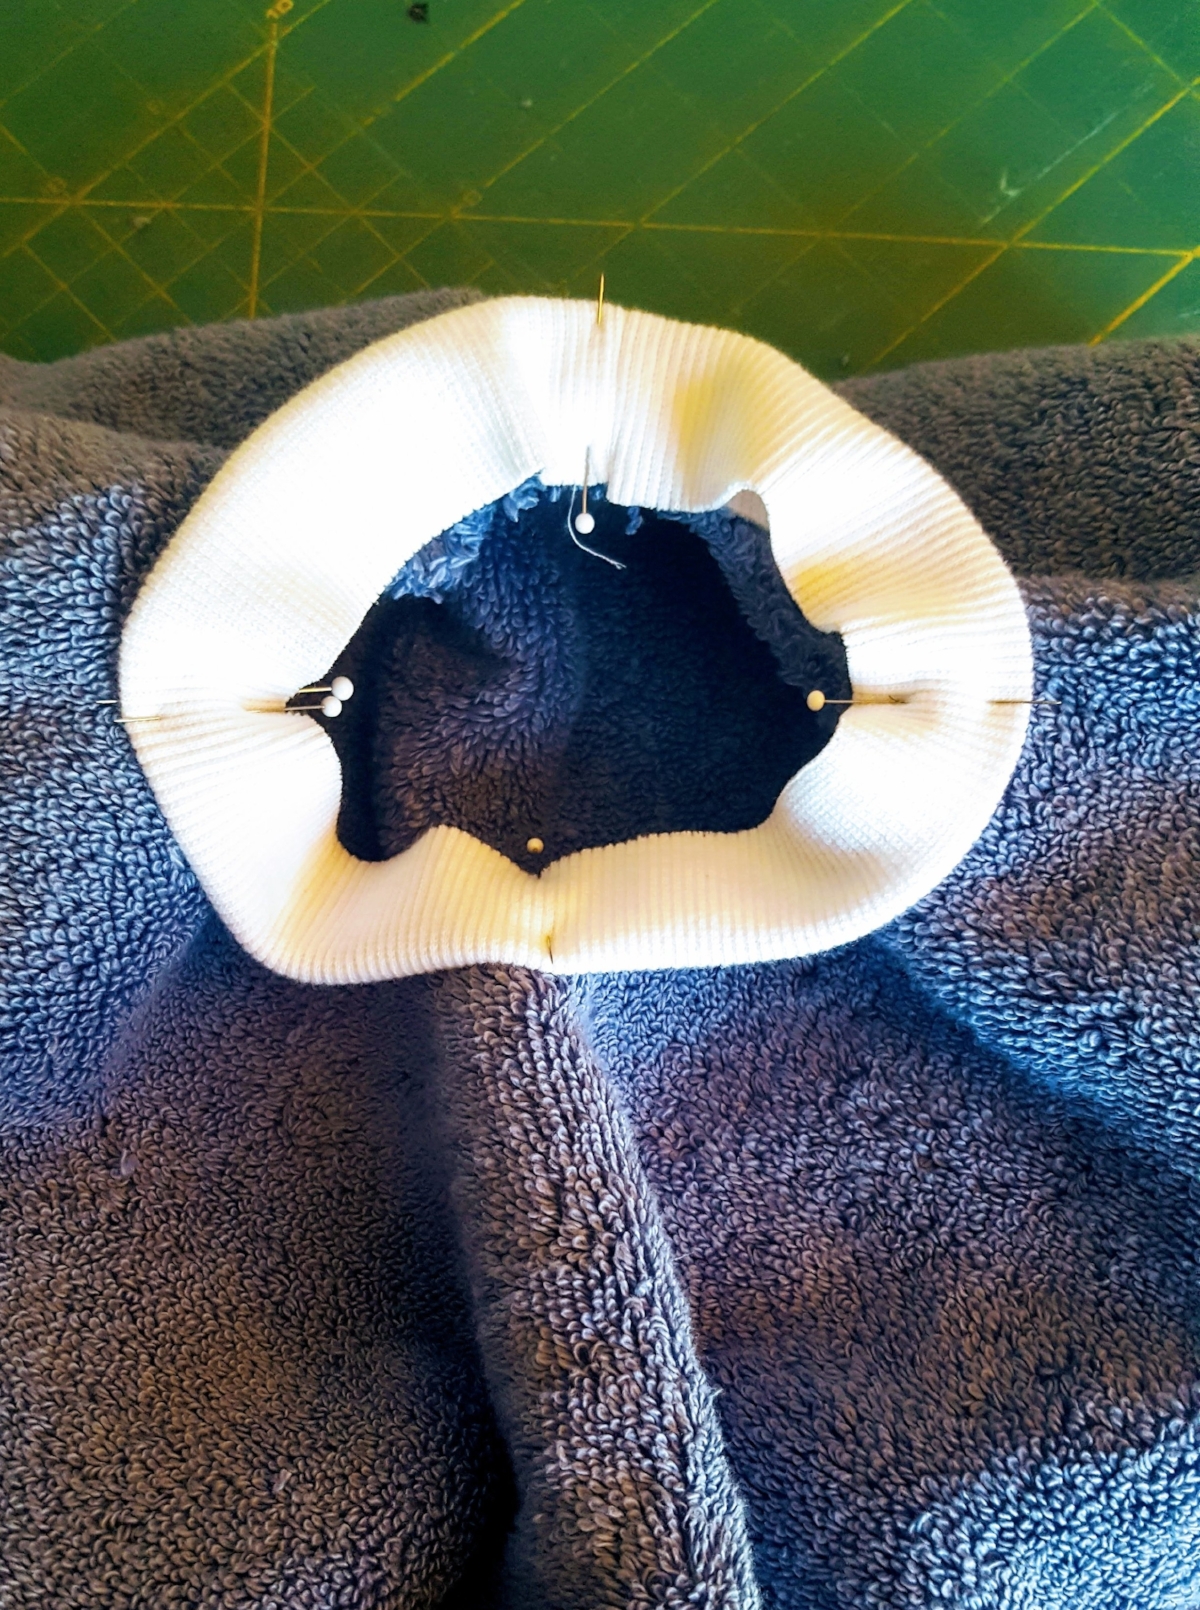
Fold the rib knit in-half, place the raw edges of the rib knit to the raw edges of the towel’s right-side. Match the markings on the rib knit to the markings on the towel. The rib knit will need to stretch to fit the markings on the towel.
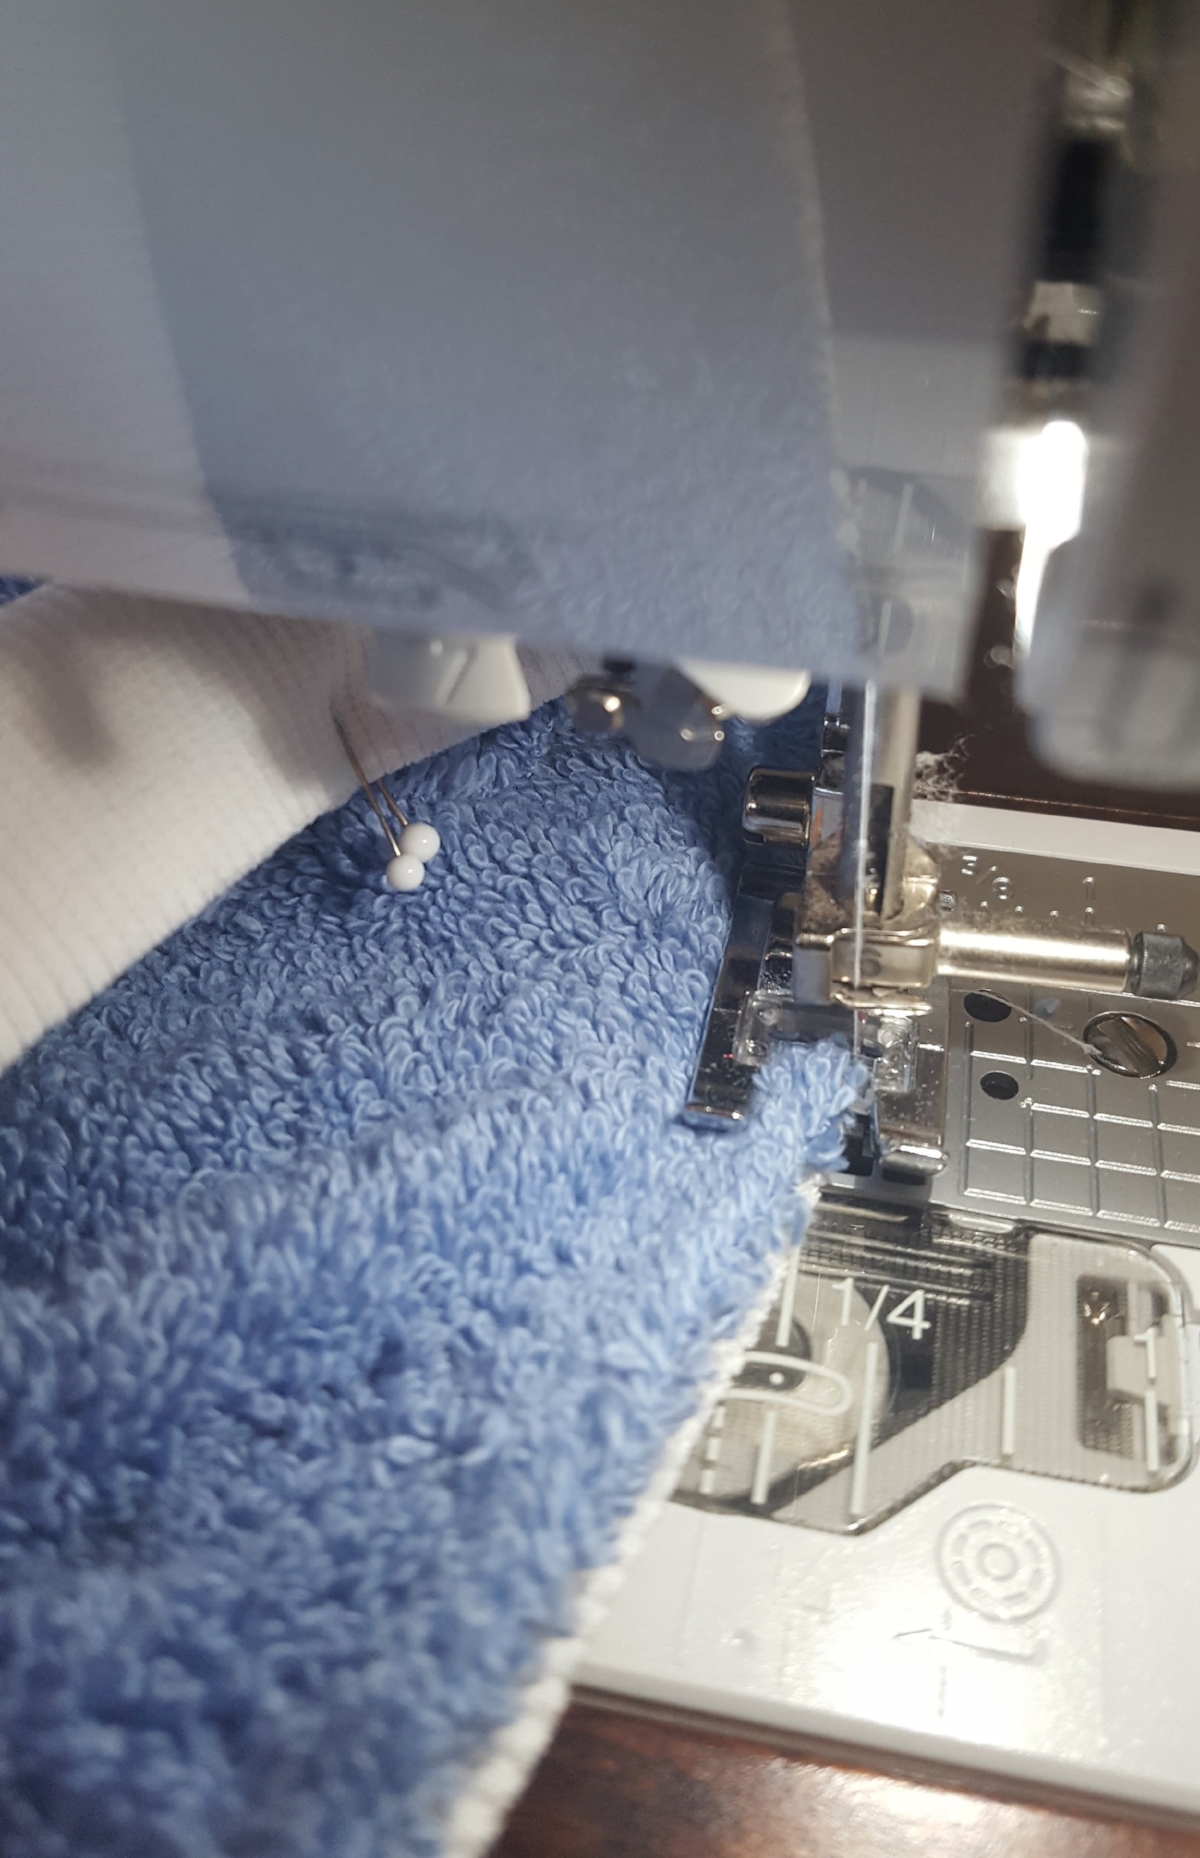
Prepare to stitch the ribbing to the neckline of the towel. Set your machine for a wide zigzag stitch with a medium stitch length, a serger can be used for this step if you prefer. Place the bib under the presser foot, towel side facing down.
Begin stitching slowly, while gently pulling the rib knit to “fit” the opening of the neckline. Zigzag stitch through all three layers.
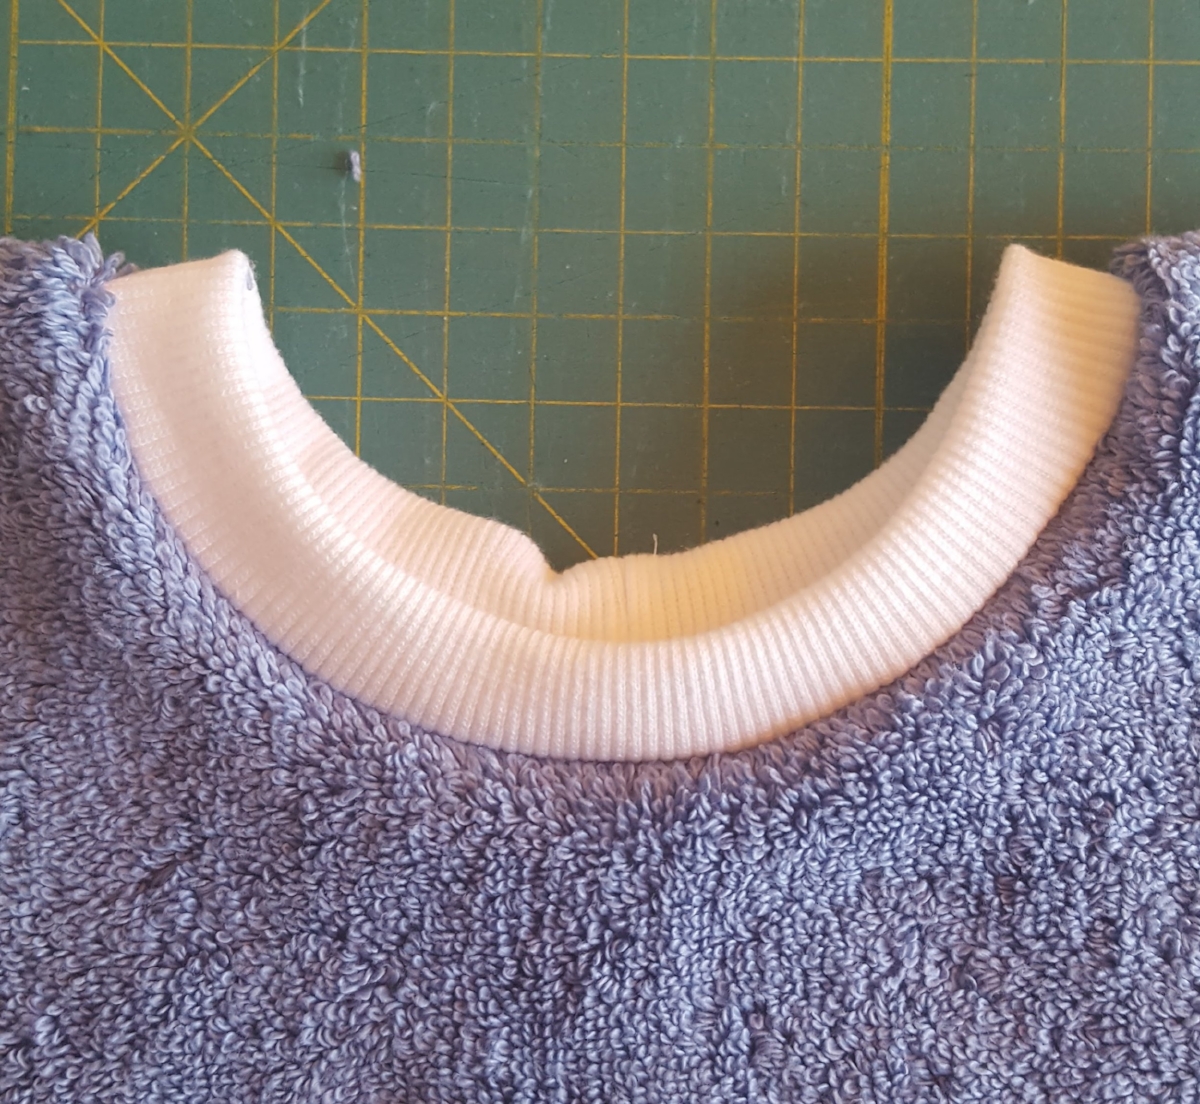
Clip the threads and you’re done!!
